- A+
所属分类:.NET技术
PathIcon是一个Avalonia内置的控件,可以根据Geometry绘制一个图标。
源码
PathIcon间接继承TemplatedControl,只有一个Geometry类型的依赖属性Data:
public class PathIcon : IconElement { static PathIcon() { AffectsRender<PathIcon>(DataProperty); } public static readonly StyledProperty<Geometry> DataProperty = AvaloniaProperty.Register<PathIcon, Geometry>(nameof(Data)); public Geometry Data { get { return GetValue(DataProperty); } set { SetValue(DataProperty, value); } } } public abstract class IconElement : TemplatedControl { } 外观也很简单,一个Path,Data绑定PathIcon的属性Data,填充色绑定属性Foreground:
<ControlTheme x:Key="{x:Type PathIcon}" TargetType="PathIcon"> <Setter Property="Background" Value="Transparent" /> <Setter Property="Height" Value="{DynamicResource IconElementThemeHeight}" /> <Setter Property="Width" Value="{DynamicResource IconElementThemeWidth}" /> <Setter Property="Template"> <ControlTemplate> <Border Background="{TemplateBinding Background}"> <Viewbox Height="{TemplateBinding Height}" Width="{TemplateBinding Width}"> <Path Fill="{TemplateBinding Foreground}" Data="{TemplateBinding Data}" Stretch="Uniform" /> </Viewbox> </Border> </ControlTemplate> </Setter> </ControlTheme> 编辑Geometry
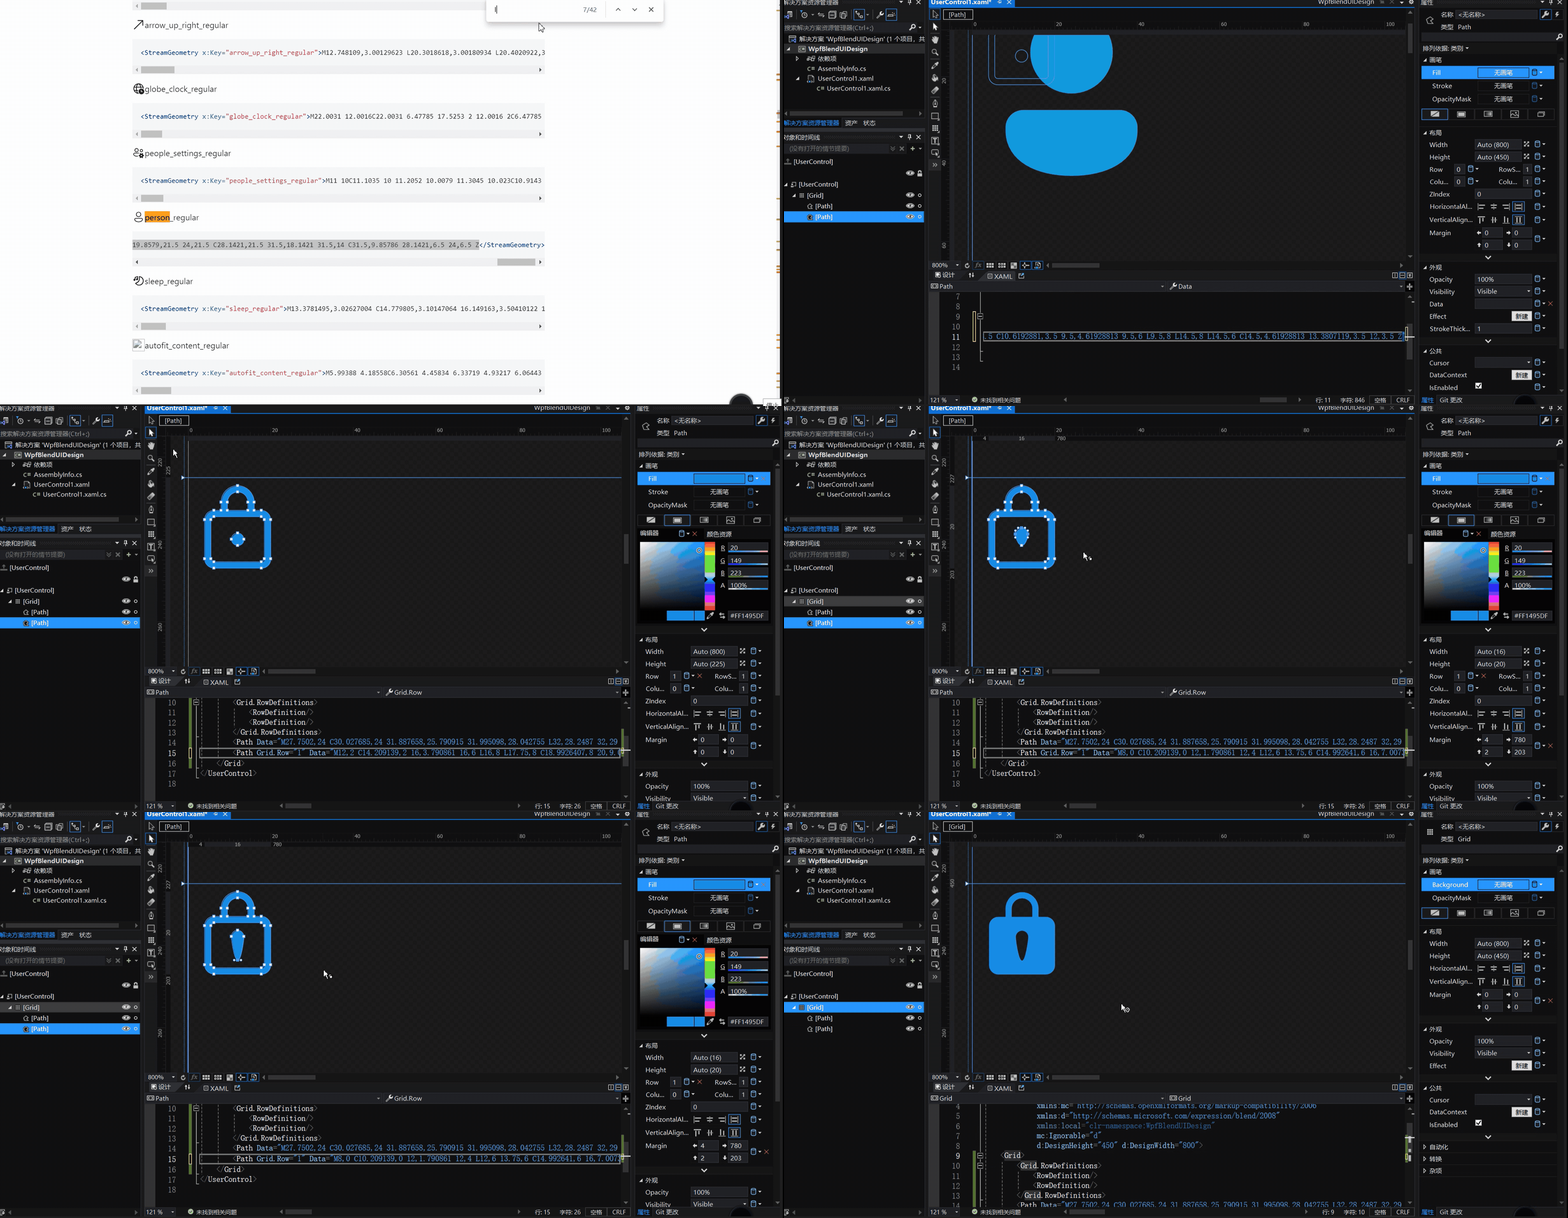
首先要创建Geometry,Avalonia UI Fluent Icons提供了一系列的图标集合,见https://avaloniaui.github.io/icons.html。获取所需的图标后,如果需要微调,可以使用Blend进行调整。
比如创建一个登陆窗口,需要一个账号、密码图标:
- 打开Blend,创建一个WPF项目,新建一个UserControl;
- 从Fluent Icons中查找账号相关的图标,复制Geometry的内容;
- 在UserControl的布局中,添加一个Path,Data属性粘贴上述复制的内容;
- 在编辑窗口中新增、删除或拖动控制点进行微调,在属性窗口中可以选择填充色、画笔颜色等;
- 重复2-3-4,编辑密码图标;

使用PathIcon
- 在创建的Avalonia项目中,添加一个资源字典文件,将使用Blend编辑的Geometry复制过来:
<ResourceDictionary xmlns="https://github.com/avaloniaui" xmlns:x="http://schemas.microsoft.com/winfx/2006/xaml"> <!-- Add Resources Here --> <StreamGeometry x:Key="login">Blend编辑的账号图标...</StreamGeometry> <StreamGeometry x:Key="password">Blend编辑的密码图标...</StreamGeometry> </ResourceDictionary> - 将资源文件添加到App资源中:
<!-- App.axaml --> <Application.Resources> <ResourceDictionary> <ResourceDictionary.MergedDictionaries> <ResourceInclude Source="avares://PathIconUsing/Contents/Icons.axaml"/> </ResourceDictionary.MergedDictionaries> </ResourceDictionary> </Application.Resources> - 编辑登陆窗口视图:
- 添加两个TextBox,一个按钮,并调整布局;
- TextBox的InnerLeftContent内容使用PathIcon控件,PathIcon的Data属性使用1中定义的Geometry,Foreground属性使用在Blend中设置的填充色;
<Grid RowDefinitions="*,*,*" Height="150" Width="250"> <TextBox VerticalAlignment="Center"> <TextBox.InnerLeftContent> <PathIcon Data="{DynamicResource ResourceKey=login}" Margin="5" Foreground="#FF1AA2D9"/> </TextBox.InnerLeftContent> </TextBox> <TextBox Grid.Row="1" VerticalAlignment="Center"> <TextBox.InnerLeftContent> <PathIcon Data="{DynamicResource ResourceKey=password}" Margin="5" Foreground="#FF1AA2D9"/> </TextBox.InnerLeftContent> </TextBox> <Button Content="登陆" Grid.Row="3" Width="250" HorizontalContentAlignment="Center" Background="#FF1AA2D9" Foreground="White"/> </Grid> 效果如下图:


